
By default, Cloudflare caches your static files, like images, CSS, and JavaScript, but not your HTML. So every page request still travels to your origin server, even if a page cache serves it quickly once it gets there. Cloudflare edge cache stores the HTML of your pages in Cloudflare’s data centers around the world, so visitors get the page from a location near them instead of waiting on your server (think of it like a second layer of cache). This lowers time to first byte (TTFB), especially for visitors far from your hosting, and takes load off your server during traffic spikes.
Perfmatters automates the Cloudflare edge cache for you using cache rules. Follow the steps below to configure it.
Note: This feature is currently in beta. If you run into any issues, please reach out. We’re always happy to help as we make improvements.
Enable Cloudflare edge cache
To use Cloudflare edge cache with Perfmatters, you’ll need two things:
- Cloudflare account. The free plan is fine, and it works with any paid plan.
- Your domain in Cloudflare needs to be proxied (orange cloud). Not DNS only.

Step 1
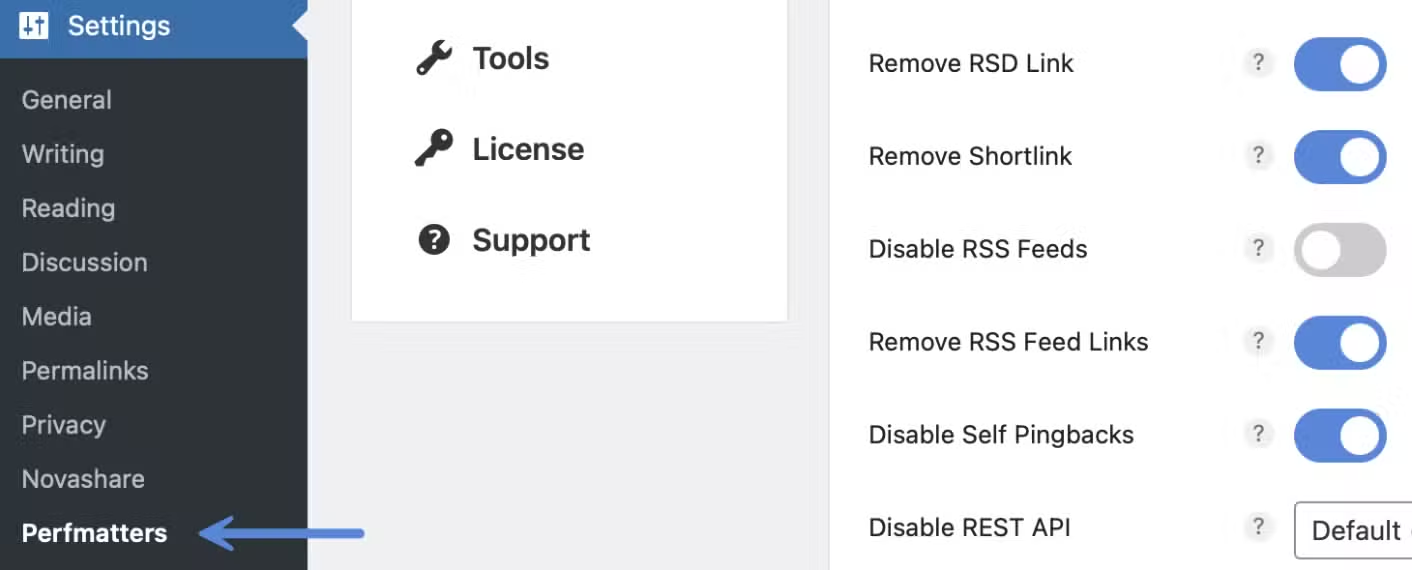
Click into the Perfmatters plugin settings.
Step 2
Click on the “Cache” menu.

Step 3
Under the Cloudflare section, toggle on “Enable Page Cache.”

Step 4
Scroll down and click “Save Changes.”
You then need to add your API token to automatically deploy the Cloudflare cache rules.
API token
Perfmatters needs a Cloudflare API token to create and manage your cache rules. You create this in your Cloudflare account, and it only needs read access to a few areas plus edit access to cache features.
Cloudflare offers two types of tokens:
- Account API tokens: Owned by the Cloudflare account instead of a single user, so they keep working if team members leave. We recommend these for agencies, development teams, or anyone managing a lot of sites.
- User API tokens (My Profile): Tied to your personal Cloudflare login. We recommend these if you manage your own sites and only have a few.
Whichever type you choose, we recommend limiting the token to only the zones (domains) you use with Perfmatters.
Step 1
Create either an Account API token or a User API token. Click on “Create Token.”

Step 2
You can name your token, or it will generate a random token name for you. Either is fine.

Step 3
Under Permission policies, click on “Start from scratch.”

If you’re using the User API token method, you’ll most likely have two additional steps. Choose “Start with a Zone policy.”

Choose “Specific zone” and then choose the domain name of the website you’re working on.

Step 4
Under permission policies, you will want to choose what access the token has, such as the entire account, all domains, or specified domains.

Step 5
Give “Read” access to the following:
- DNS & Zones → DNS (read access)
- DNS & Zones → Zone (read access)

Step 6
Give “Edit” access to the following:
- Rules & Configuration → Zone Transform Rules (edit access)

Step 7
Give “Purge” and “Edit” access to the following:
- Cache & Performance → Cache (purge access)
- Cache & Performance → Cache Settings (edit access)

Step 8
Click on “Review token.”

Step 9
Click on “Create token.”

Step 10
Copy your API token and store it securely. You will not be able to retrieve it later and will need it for the next step.

Step 11
Under the “Cloudflare” section in Perfmatters, add your API token.

Step 12
Scroll down and click “Save Changes.” Perfmatters then automatically creates and updates the necessary rules in your Cloudflare zone.
Add API token using constant in wp-config.php (optional)
If you don’t want to enter your API token in the UI, you can use the PERFMATTERS_CLOUDFLARE_API_TOKEN constant to define the API token by adding the following to your wp-config.php file. (**** is your API token)
define('PERFMATTERS_CLOUDFLARE_API_TOKEN', '****');The constant typically goes beneath the WP_DEBUG constant.
Sync rules
There may be times when a change is made, and you’ll need to update the rules on the Cloudflare side. To do this, you can click on the “Sync Rules” button.

Zone ID
The zone ID is a 32-character hex ID that Cloudflare assigns to your domain, such as 684f358.... A “zone” is Cloudflare’s name for a domain you’ve added, and the zone ID is that domain’s unique ID in the API.
For most users, you can leave this on “Auto.” Perfmatters automatically looks up the zone from the site’s domain using your token. You only need to paste it if auto-detection fails, for example, when the token can’t read zones. You can find the zone ID on the domain’s Overview page in Cloudflare, under API in the right sidebar.

Edge cache expires
Edge cache expiration determines the maximum age your HTML page is stored at Cloudflare before it’s deleted. You have seven different options to choose from:
- 2 hours
- 6 hours
- 12 hours
- 24 hours
- 7 days
- 30 days (default)
- 1 year
Just like with page cache, the longer the cache, the better the performance. You want visitors to hit cache as much as possible. However, dynamic ecommerce sites or high-traffic blogs might need to use shorter cache times to ensure up-to-date content. Remember, edge cache is automatically cleared in most areas when a content update is made. But we recommend using what works best for your website’s content and publishing strategy. Values under 12 hours can also help avoid expired WordPress nonces in forms and comments.
To change the edge cache expires value, follow the steps below.
Step 1
Click into the Perfmatters plugin settings.
Step 2
Click on the “Cache” menu.
Step 3
Under the Cloudflare section, choose your expiration value for “Expires.” Note: 30 days is the default value.

Step 4
Scroll down and click “Save Changes.”
Clear edge cache
There are a few different ways to clear the edge cache in Perfmatters.
Option 1
The first and easiest method is from your admin bar menu. There are two different options:
- Clear Cache: Clear all page cache on the entire site (including edge cache).
- Clear Cache (Current): Clear the page cache of the current URL (including edge cache).

Option 2
The other option is to use the “Clear Cache” option inside Perfmatters. This clears both the page cache and edge cache.

Additional information
How to test if Cloudflare edge cache is working
To confirm edge cache is working, look at the headers on your request in a tool like Chrome DevTools or GTmetrix. A successful cache hit will show the following: Cf-Cache-Status: HIT

If it’s bypassing cache, it will show the following: Cf-Cache-Status: BYPASS

Clear edge cache programmatically
If you need to programmatically clear the edge cache, you can use our class function: \Perfmatters\Cache\Purge::clear();
That will initiate a full clear (disk cache + host cache + Cloudflare, warmer restarts if on).
For example, perhaps you want to automatically clear the edge cache whenever a plugin is installed/updated.
add_action( 'upgrader_process_complete', function( $upgrader, $options ) {
	if ( ( $options['type'] ?? '' ) === 'plugin' && class_exists( '\Perfmatters\Cache\Purge' ) ) {
		\Perfmatters\Cache\Purge::clear();
	}
}, 10, 2 );
Additional class functions
You can also clear page cache of an individual URL using this class function:\Perfmatters\Cache\Purge::clear_url($url);
Edge cache bypassed
Edge cache is automatically bypassed for logged-in users, carts, and any cookies you choose to exclude.
Edge cache versus APO
Each Cloudflare location caches a page the first time someone near it visits that page, or it is warmed. Unlike Cloudflare APO, it doesn’t push every page to every location instantly, but after that first visit or warming, everyone else nearby gets the cached copy straight from the edge.
For beta, we wanted to get basic Cloudflare edge cache working first. However, we are looking into future improvements to support both APO and another alternative option to push pages to all edge locations at once. Stay tuned for these enhancements to how edge cache works.
