
Every time someone visits a page on your WordPress site, your server normally builds that page from scratch. It runs PHP, queries the database, loads your theme and plugins, and only then sends the finished HTML to the visitor. That work adds up, especially on busy sites or slower hosting, and it’s one of the biggest factors behind a slow initial server response time (TTFB).
Page caching skips that work. The first time a page is requested, Perfmatters saves the finished HTML as a static file on your server. The next visitor gets that saved copy right away, without PHP or the database rebuilding the page. In our tests, TTFB dropped by an average of ~65.5% when page cache is enabled. When you update content, the cached copy is cleared and rebuilt, so visitors still see the latest version.
Page caching is just one layer of caching. It speeds up how quickly your HTML is delivered, while browser caching tells visitors’ browsers to keep files like images, CSS, and JavaScript so they don’t have to download them again. Pair both with text compression, which shrinks those files before they’re sent, and your pages will load significantly faster. All of which Perfmatters now handles.
Below, we’ll dive into how to use page cache in WordPress using Perfmatters.
Page cache
Perfmatters supports Apache, Nginx, and LiteSpeed servers. Follow the steps below to enable page cache in Perfmatters.
Note: This feature is currently in beta. If you run into any issues, please reach out. We’re always happy to help as we make improvements.
Multisite support is coming soon.
Step 1
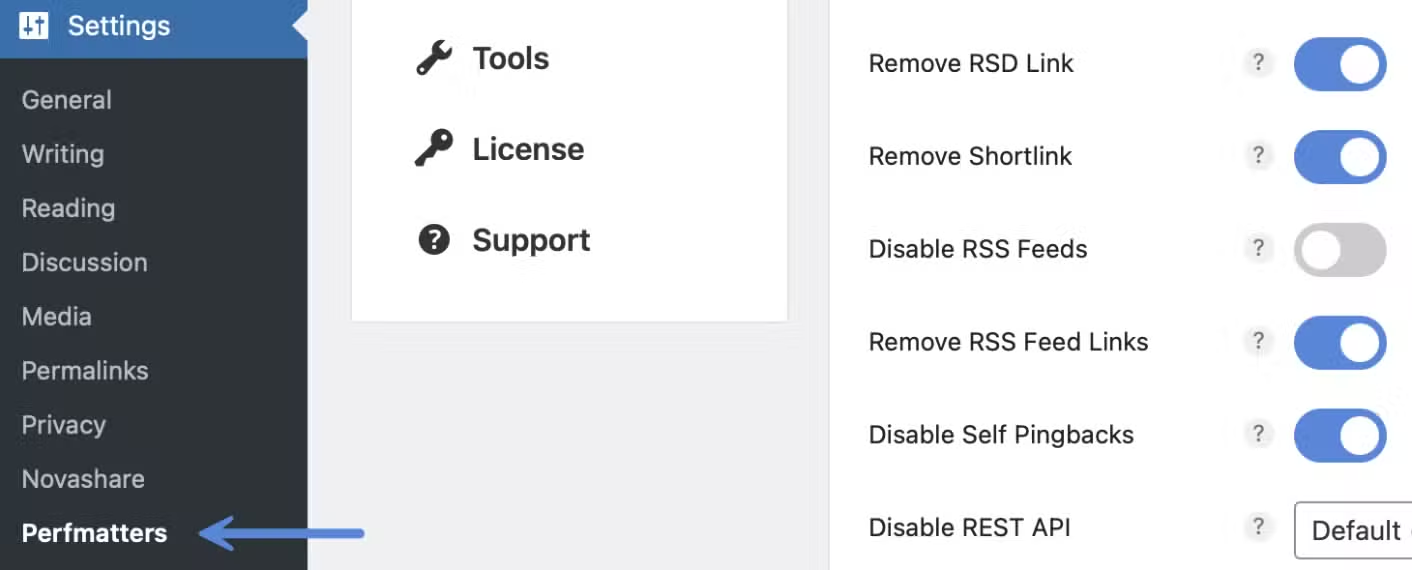
Click into the Perfmatters plugin settings.
Step 2
Click on the “Cache” menu.

Step 3
Under the Page Cache section, toggle on “Enable Page Cache.”

Step 4
Scroll down and click “Save Changes.”
Hosts where cache is automatically disabled
We automatically disable page cache on the following managed hosts that already provide server-level caching.
- Kinsta
- WP Engine
- Pressable
- Pantheon
- WordPress.com
- SpinupWP
- DreamPress
- Flywheel
- Savvii
- Presslabs
The reason is that server-level caching is generally less resource-intensive than any plugin method. However, we do have a filter to force the cache feature back on. But we recommend checking with your hosting provider regarding conflicts before doing this.
Additional notes
- To confirm the cache is working, look at the headers on your page request in a tool like Chrome DevTools or GTmetrix. A successful cache hit will show the following:
X-Perfmatters-Cache: HITWhen cache is bypassed, we don’t show a header.

- Cache is automatically cleared when and where a change is made to a post/page, terms, comments, etc. For example, if you update a page’s content, the URL will automatically be cleared from the cache when you publish the changes.
- Perfmatters saves each cached page as a static HTML file in
wp-content/cache/perfmatters/your-site/page/. On Apache and LiteSpeed, rewrite rules in.htaccessserve those files directly before WordPress or PHP even loads. On Nginx, a lightweightadvanced-cache.phpdrop-in serves them early, before WordPress fully loads. However, if you want Nginx to also serve them before PHP loads, you would need to add a snippet of code to your Nginx config. - Logged-in users, commenters, password-protected posts, carts, checkout, account, and search results are skipped.
- A response that sets a cookie is skipped because the cached file cannot send that cookie. For example, when an item is in a shopping cart on a WooCommerce site.
Expires
Cache expiration determines the maximum age your HTML page is stored before it’s deleted. You have seven eight options to choose from:
- Never (default)
- 2 hours
- 6 hours
- 12 hours
- 24 hours
- 7 days
- 30 days
- 1 year
The longer the cache, the better the performance. You want visitors to hit cache as much as possible. However, dynamic ecommerce sites or high-traffic blogs might need to use shorter cache times to ensure up-to-date content. Remember, cache is automatically cleared in most areas when a content update is made. But we recommend using what works best for your website’s content and publishing strategy. Values under 12 hours can also help avoid expired WordPress nonces in forms and comments.
To change the cache expires value, follow the steps below.
Step 1
Click into the Perfmatters plugin settings.
Step 2
Click on the “Cache” menu.
Step 3
Under Expires, choose your expiration value. Note: Never is the default value.

Step 4
Scroll down and click “Save Changes.”
Static files
When page cache is enabled on Apache, Perfmatters also adds browser caching rules to your .htaccess file. Static files like CSS, JavaScript, images, and fonts get a one-year expiration, so returning visitors load them from their browser cache instead of downloading them again (see serve static assets with an efficient cache policy). HTML is set to expire immediately so visitors always see the latest version after the cache is cleared. On Nginx, these headers are controlled by your server configuration, so check with your host, or you can add them yourself.
Separate mobile cache
The seperate mobile cache option saves a second cached copy of each page for mobile visitors. You only need it if you use Perfmatters’ device-specific options in the Script Manager or Preloading, or other code that uses wp_is_mobile() to change what mobile visitors see. Most responsive themes serve the same HTML to every device, so leave it off unless something on your site actually differs on mobile.
Note: We are working on moving certain client-side features in Perfmatters, like preloads, away from the wp_is_mobile() requirement.
Pros
- Mobile visitors get the version built for them, so device-specific script disabling and preloads keep working with caching on.
- The cache warmer builds both the desktop and mobile versions of each page.
Cons
- It doubles the number of cached files and the disk space they use.
- Warming takes twice as many requests, which means more load on your server each time the cache is rebuilt.
- On Apache, pages are no longer served straight from
.htaccess. They’re served through theadvanced-cache.phpdrop-in instead, which is still fast but slightly slower than skipping PHP entirely.
Follow the steps below to enable separate mobile cache.
Step 1
Click into the Perfmatters plugin settings.
Step 2
Click on the “Cache” menu.
Step 3
Toggle on “Separate Mobile.”

Toggling the feature on will initiate a full cache clear.
Step 4
Scroll down and click “Save Changes.”
How to clear cache
There are a few different ways to clear the page cache in Perfmatters.
Option 1
The first and easiest method is from your admin bar menu. There are two different options:
- Clear Cache: Clear all page cache on the entire site.
- Clear Cache (Current): Clear the page cache of the current URL.

Option 2
The other option is to use the “Clear Cache” option inside Perfmatters.

Additional information
Clear page cache programmatically
If you need to programmatically clear the page cache, you can use our class function: \Perfmatters\Cache\Purge::clear();
That will initiate a full clear (disk cache + host cache + Cloudflare, warmer restarts if on).
For example, perhaps you want to automatically clear the page cache whenever a plugin is installed/updated.
add_action( 'upgrader_process_complete', function( $upgrader, $options ) {
	if ( ( $options['type'] ?? '' ) === 'plugin' && class_exists( '\Perfmatters\Cache\Purge' ) ) {
		\Perfmatters\Cache\Purge::clear();
	}
}, 10, 2 );
Additional class functions
You can also clear page cache of an individual URL using this class function:\Perfmatters\Cache\Purge::clear_url($url);
perfmatters_cache_clear_before – Start of a full clear (before edge purge)perfmatters_cache_clear_after -After disk (+ edge) are cleared, before the warmer starts
add_action('perfmatters_cache_clear_before', function() {
	// e.g. purge another layer before ours finishes
});
add_action('perfmatters_cache_clear_after', function() {
	// cache HTML is gone
});
perfmatters_cache_clear_url_before – Start of the manual URL clearperfmatters_cache_clear_url_after -After that URL is removed from disk
add_action('perfmatters_cache_clear_url_before', function($url) {
	// ...
});
add_action('perfmatters_cache_clear_url_after', function($url) {
	error_log('Cleared: ' . $url);
});
perfmatters_cache_clear_urls_before – Before disk delete for the batchperfmatters_cache_clear_urls_after – After disk (+ any remaining edge) for the batch
add_action('perfmatters_cache_clear_urls_before', function($urls) {
	// $urls = normalized list that will be deleted
});
add_action('perfmatters_cache_clear_urls_after', function($urls) {
	foreach($urls as $url) {
		// ...
	}
});
We also have more filters available that you can use to change how cache works.
Compression
When Perfmatters caches a page, it saves two copies: the regular HTML file and a pre-compressed GZIP (.gz) version. When a vistor hits requests a URL, the server sends the compressed copy directly instead of compressing the page again on every request. That saves CPU on your server and gets a smaller file to the visitor faster. If your CDN applies a newer form of compression, such as Cloudflare and Brotli, then that will take presendence.
How does page cache work with OPcache and Redis?
The page cache in Perfmatters saves full HTML pages to disk, so it works alongside OPcache and Redis instead of replacing them. Each one handles a different layer. Page cache serves saved pages before PHP even runs, OPcache speeds up PHP itself, and Redis object cache speeds up database queries. You can keep OPcache and Redis set up exactly as they are, with no extra configuration needed.
