Minification is the process of removing unnecessary characters from your code (whitespace, comments, shortening function and variable names, etc.), along with additional markup cleanup. This reduces the overall size of the file and parsing time.
Many developers minify their CSS beforehand these days; however, we still frequently encounter those who don’t. Therefore, it’s beneficial to minify all your CSS. This will ensure you shave off every KB possible for faster page loads.
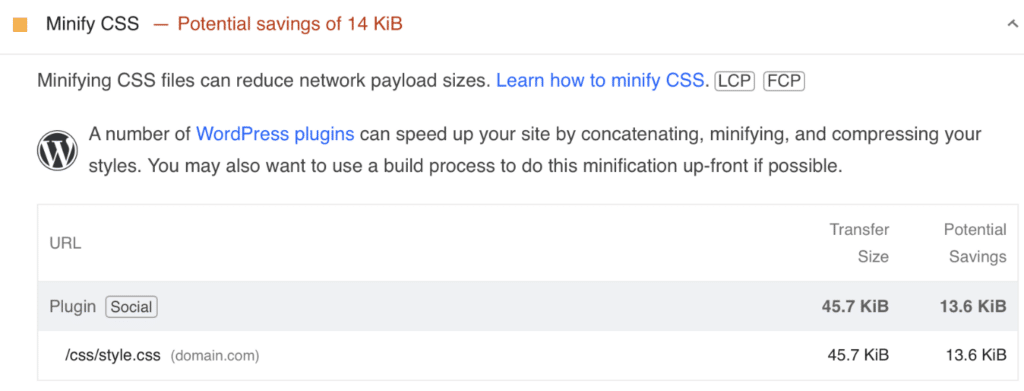
How do you know if everything is minified on your WordPress site? If you’re speed testing in PageSpeed Insights, an unminified CSS file will trigger the “Minify CSS” warning. This impacts both Largest Contentful Paint (LCP) and First Contentful Paint (FCP).

Another way to check for minification is if the stylesheet has a .min.css on the end. (Example: file.min.css).
How to minify CSS with Perfmatters
You can easily minify your CSS with Perfmatters. Follow the steps below.
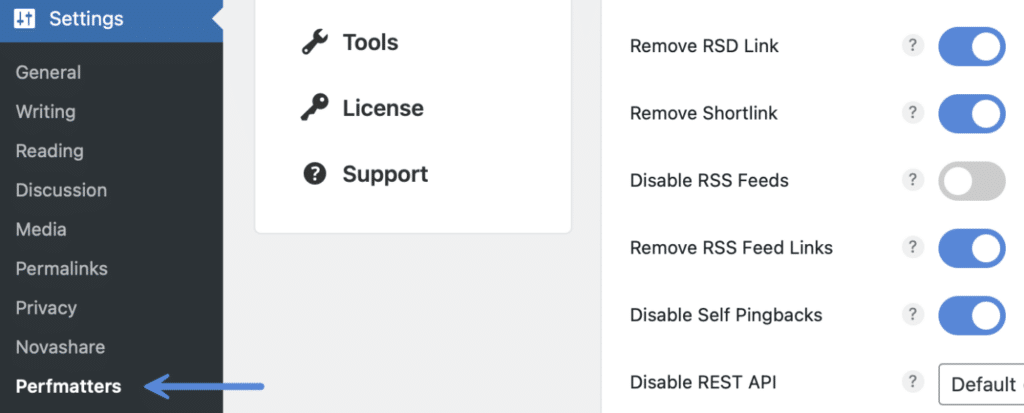
Step 1
Click into the Perfmatters plugin settings.

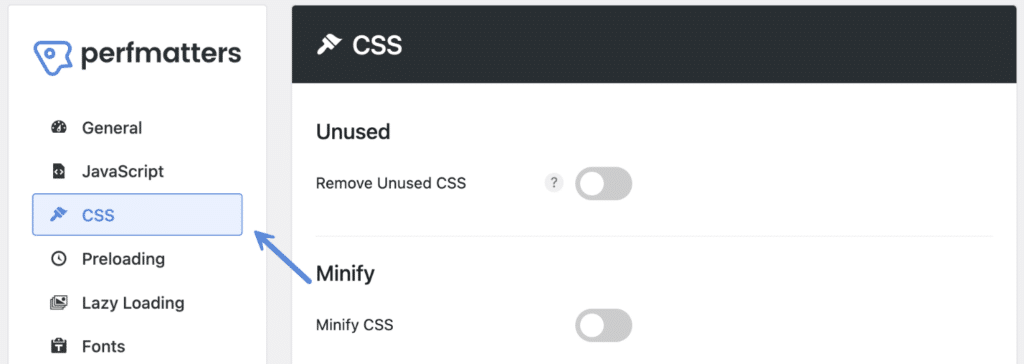
Step 2
Click on the “CSS” menu.

Step 3
Under the “Minify” section, toggle on “Minify CSS.” The minified version will then automatically be loaded on your WordPress site instead of the original.

Step 4
Scroll down and click “Save Changes.”
The minified CSS generated by Perfmatters is stored locally in the following directory: /wp-content/cache/perfmatters/sitename/minify
Things to keep in mind:
- Minification will automatically skip files that have
.min.cssin the names. - Files will automatically be compared, and those that won’t result in a smaller file will not be replaced.
How to add CSS minification exclusions
Unlike Removed CSS, exclusions usually aren’t needed for minification. However, there might be an instance where you still need to add one.
Add CSS minification exclusion by stylesheet
Enter the stylesheet’s name into the “Excluded from Minification” box, such as style.css (one per line). The stylesheet name needs to be the original file name, not the minified one.

How to exclude a page/post from CSS minification
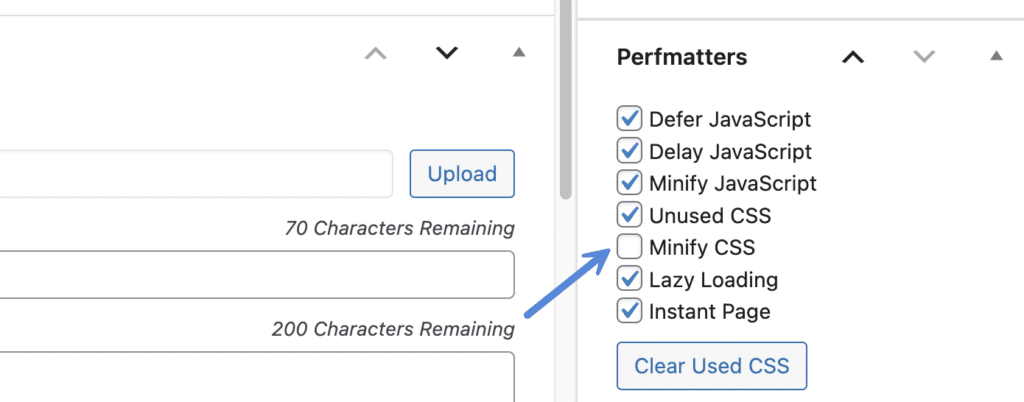
You can exclude an individual post, page, or custom post type from using the CSS JavaScript feature. In the editor, on the right-hand side, uncheck “Minify CSS.” This will exclude the entire page. This can be useful for, say, a checkout or contact us page that might have more issues than the rest of the site.

How to programmatically exclude CSS from minification
You can programmatically exclude CSS from minification if needed using our perfmatters_minify_css_exclusions filter.
For example, you exclude a specific CSS file from minification only on single posts.
add_filter('perfmatters_minify_css_exclusions', function($exclusions) {
  if(is_single()) {
      $exclusions[] = 'example.css';
  }
  return $exclusions;
});
How to clear minified CSS
If you make design or code changes on your site, you might need to clear your minified CSS, along with all cache layers, to ensure all changes are properly displayed.
We recommend clearing cache layers in the following order: theme, third-party plugins, Perfmatters (Clear Used CSS, Clear Minified JS/CSS), hosting provider, and CDN. To verify your CSS changes have been updated, we suggest viewing your website in your browser’s incognito or private mode.
The minified CSS generated by Perfmatters is stored locally in the following directory: /wp-content/cache/perfmatters/sitename/minify
To clear the minified CSS, follow the steps below.
Step 1
Click into the Perfmatters plugin settings.

Step 2
Click on the “CSS” menu.

Step 3
Scroll down, and under the “Minify” section, click on “Clear Minified CSS.”

How to clear minified CSS from the admin bar
You can clear the Minified CSS from the admin bar.

How to programmatically clear minified CSS
If you need to programmatically clear minified CSS, you can use our class function:
Perfmatters\Minify::clear_minified('css');Troubleshooting minification
If you have another plugin already doing CSS minification, we recommend turning the feature off in one of the plugins to prevent any conflicts.