
We wouldn’t be following our own advice without having a clean uninstall option.
Perform a clean uninstall of Perfmatters
When enabled, this will cause all Perfmatters options data to be removed from your database when the plugin is uninstalled. It will also remove any files or folder directories, such as MU and local Google Fonts. Follow the steps below.
Step 1
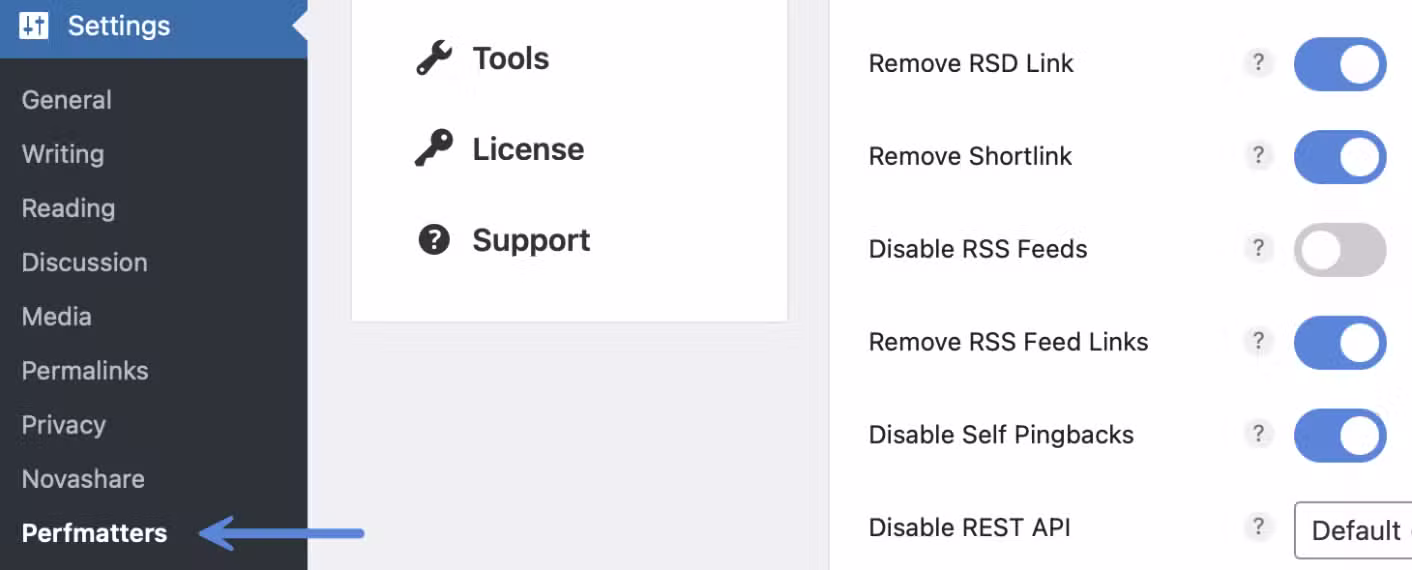
Click into the Perfmatters plugin settings.
Step 2
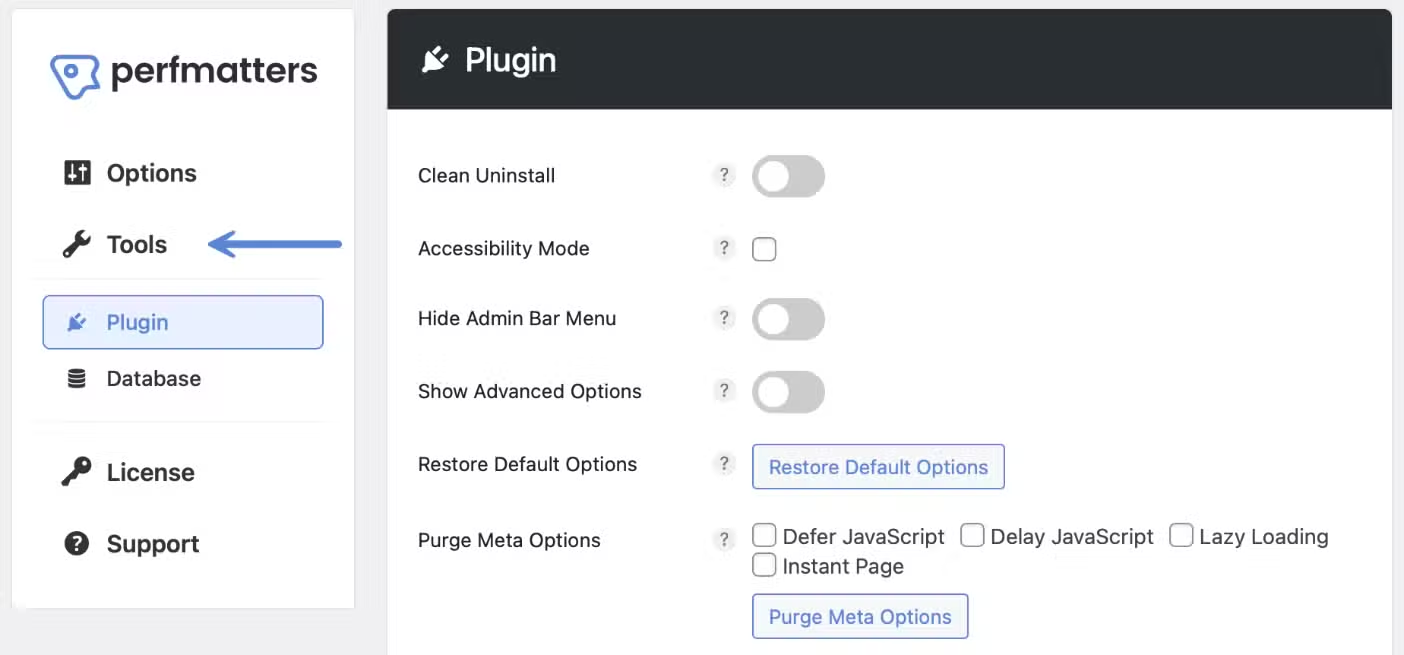
Click on the “Tools” submenu.
Step 3
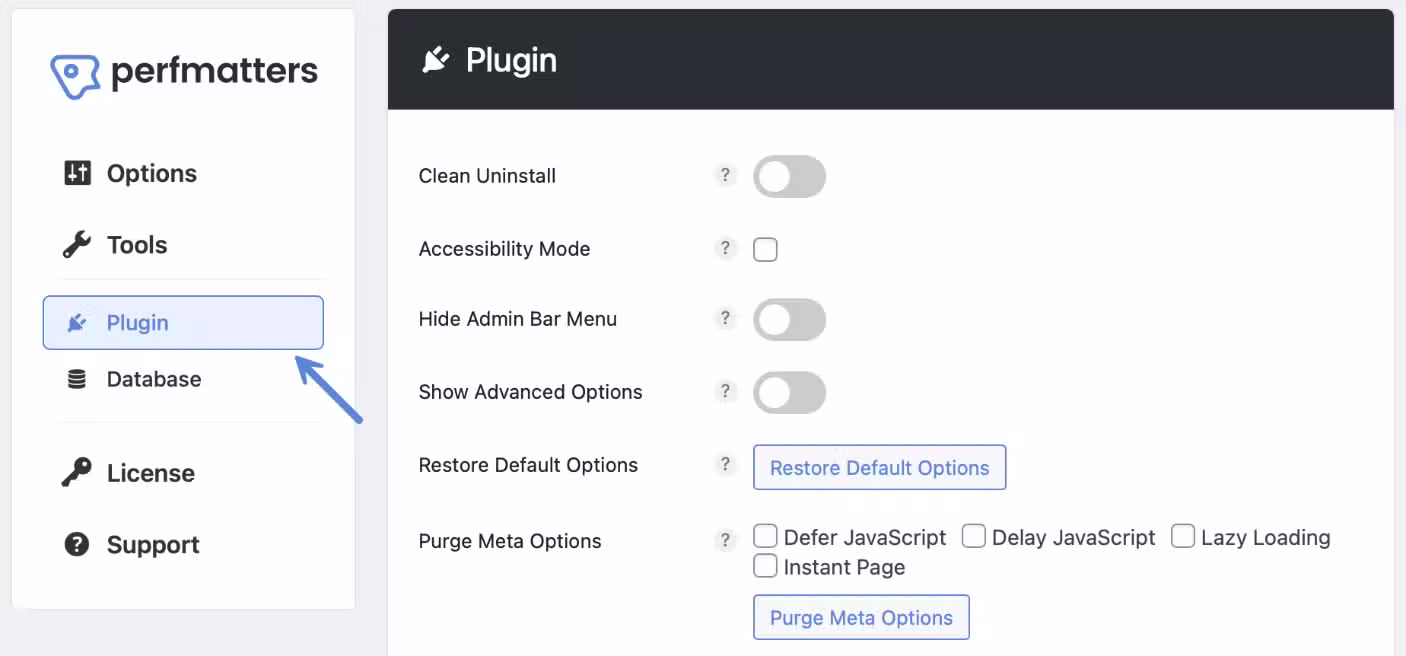
Make sure you’re on the “Plugin” submenu.
Step 4
Toggle on the “Clean Uninstall” option.

Step 5
Scroll down and click “Save Changes.”
Step 6
Click into “Plugins → Installed Plugins.”
Step 7
Deactivate the Perfmatters plugin and then click “Delete.” All the database options, directories, files, settings, etc. will then be removed.

Perform a clean uninstall of Perfmatters with multisite
If you’re running a multisite setup, you can do a clean uninstall at the network level.

Perform a clean uninstall of Perfmatters with WP-CLI
You can also do a clean uninstall of Perfmatters using WP-CLI. Use the following command to return a list of available plugin options.
wp perfmatters get-options
Run the following command to do a clean uninstall.
clean-uninstall