
After you purchase the plugin you will receive an email with the download link to the plugin. Follow the steps below to install the Perfmatters plugin and activate it with your license key. This will ensure you will get all the automatic updates and new features we push out.
Install and activate
Step 1
Click on the link in your email and you can download the .zip file (perfmatters.zip) for the plugin.
You can also download it from your Perfmatters account. Under the Product Download section, click on “Download Plugin.”

Step 2
In your WordPress dashboard click into “Plugins” and then on “Add New.”

Step 3
Click on “Upload Plugin” and select the perfmatters.zip file.

Step 4
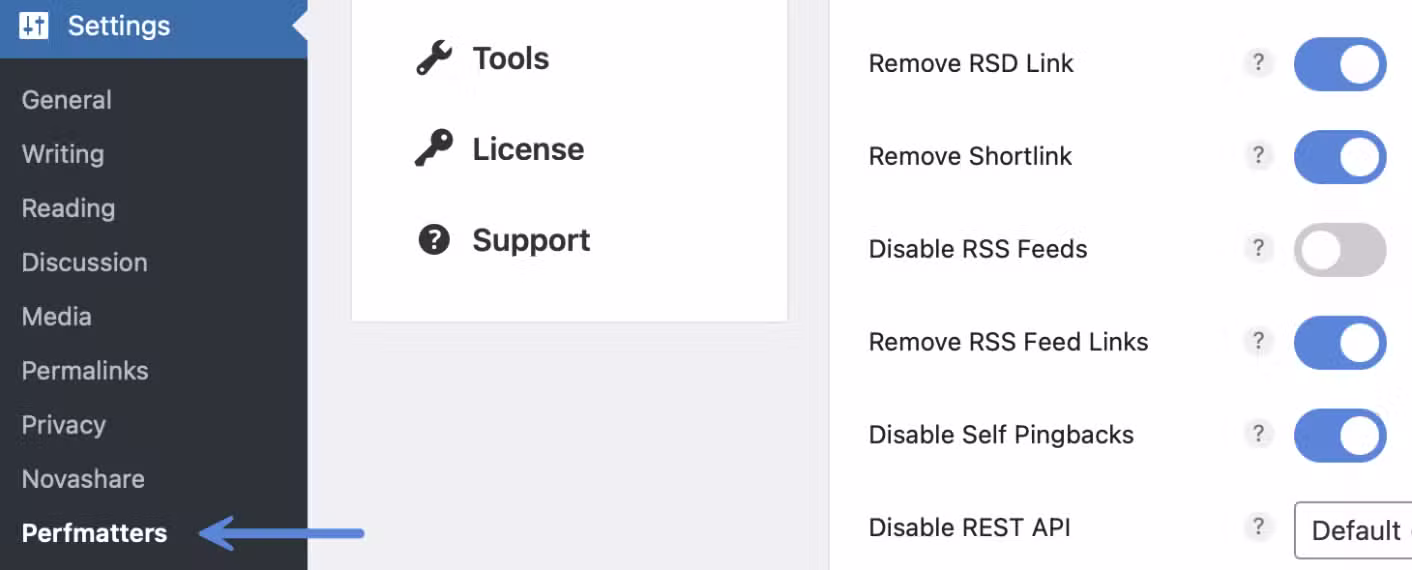
After you have installed the plugin and activated it, click on “Settings” in your dashboard and click into “Perfmatters.”
Step 5
Click on the “License” submenu and enter your license key, which you got in your email. You can also find your license key in your account.

Step 6
Click “Save License.”

You should then see a confirmation that your license is activated. You will now get automatic updates for Perfmatters in your WordPress dashboard.

If you’re having trouble activating your license, check out these troubleshooting steps.
After activation
After you’ve activated the plugin, you can dive into all the features in the plugin.
